Description
NOTE: As we gear up as the new LOTN Outfitters we will not be offering the UHMW toboggans until next season. In the spring we will be ordering the UHMW plastic for a 2023 fall season revival!
Rather than repeat ourselves, if you want to learn more about our trail toboggans, their intended uses, advantages, etc please check out the product page here: HDPE Trail Toboggans.
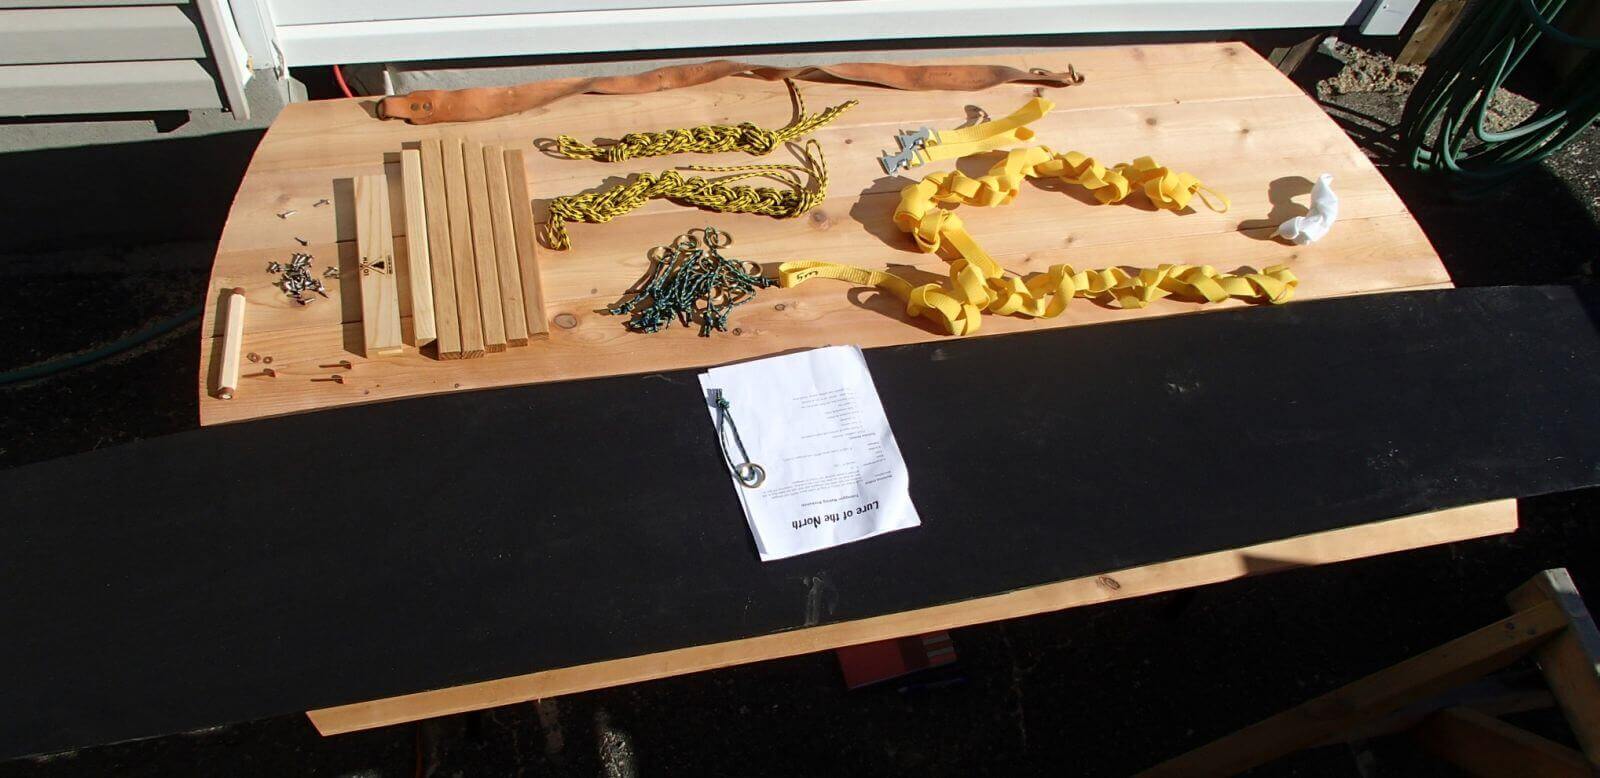
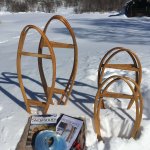
Our trail toboggan kits include all of the following (note: quantity ranges are given, b/c quantities differ depending on the length of toboggan kit selected):
- Instructions;
- 8′ – 12′ x 1/4″ x 15″ toboggan blank, cut to a ‘coffin’ shape with holes pre-drilled;
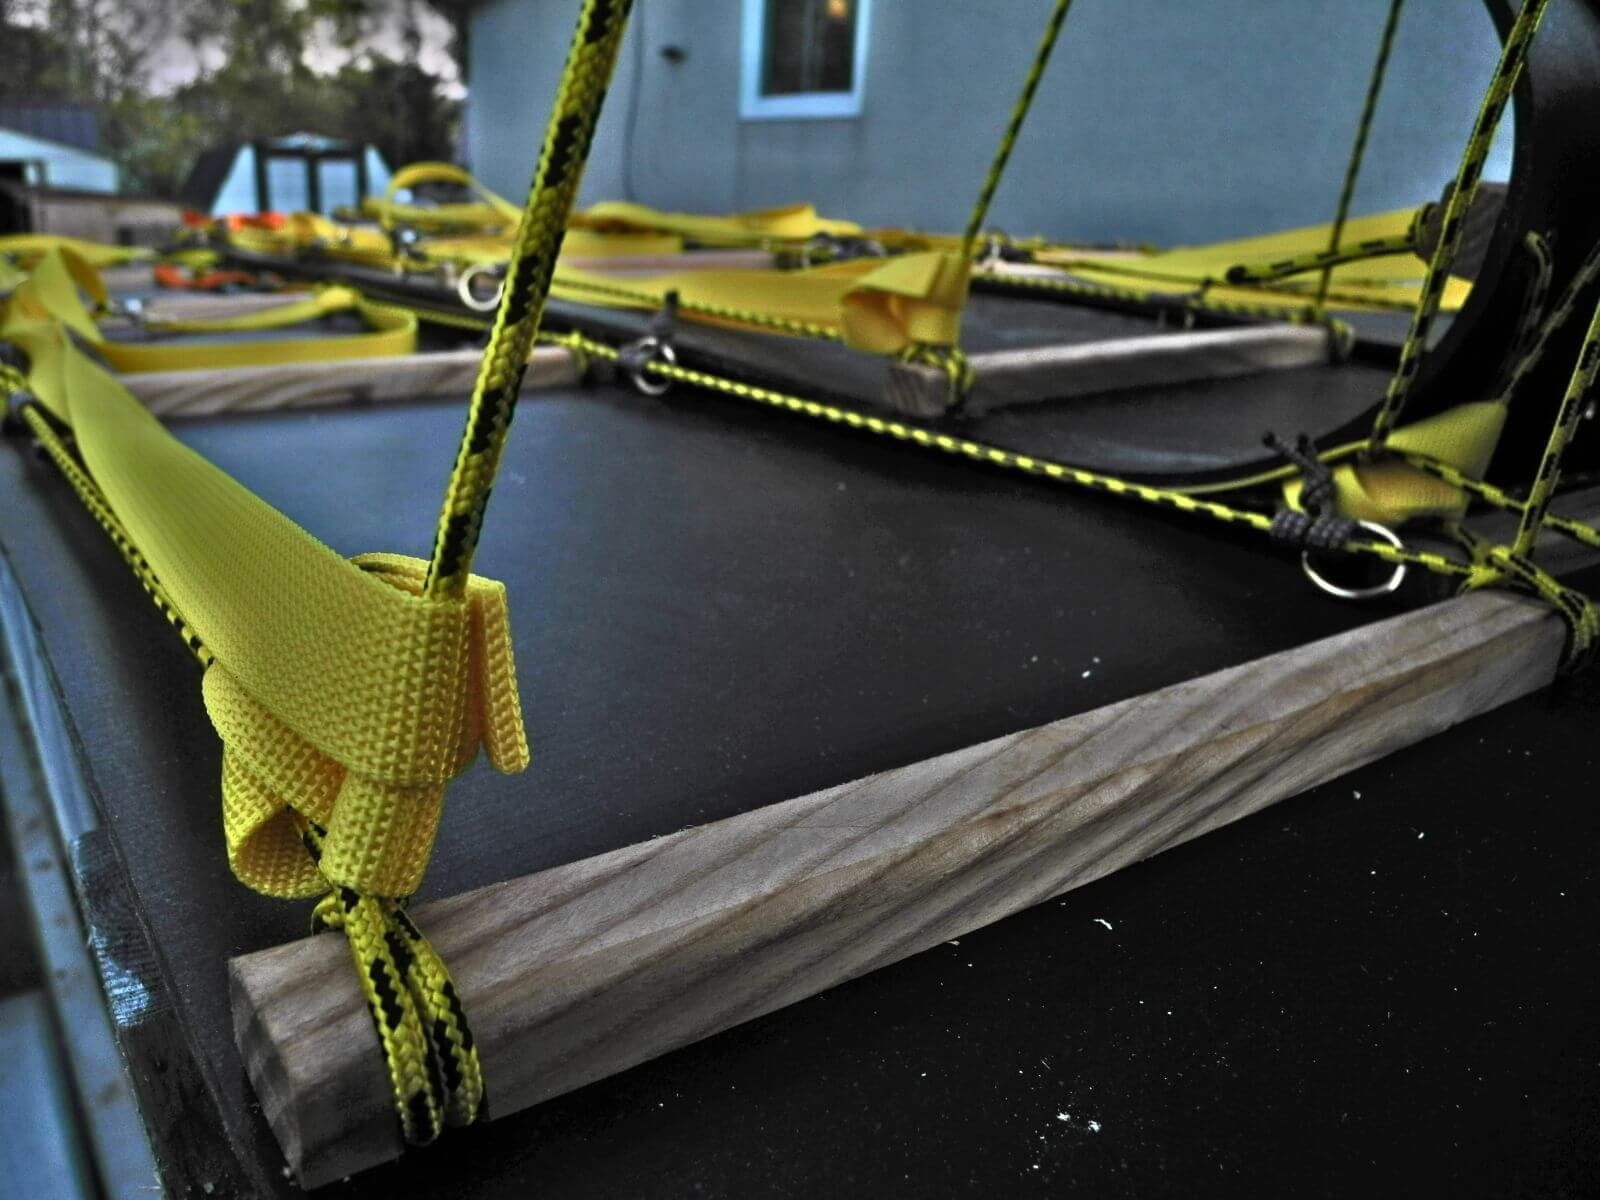
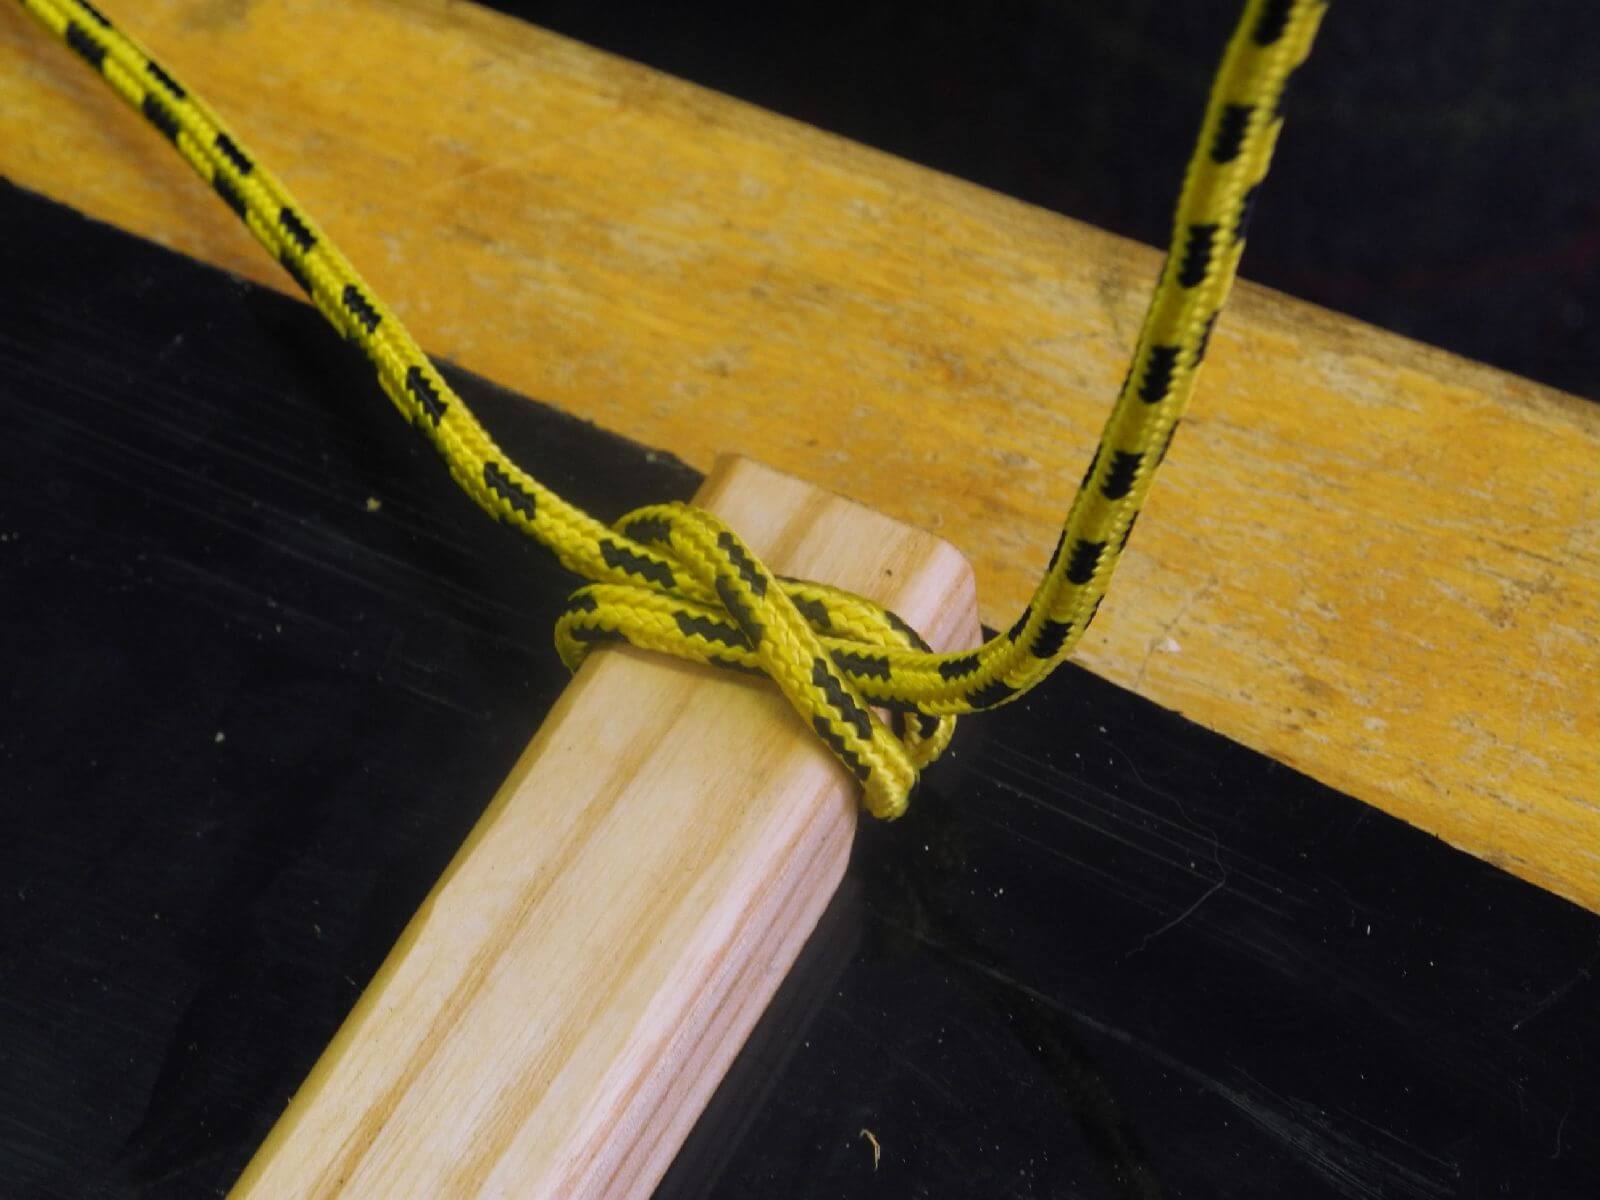
- 6 – 8 partially finished White Ash crossbars (dimensioned, rounded & notched to accept running lines);
- 16 – 24m of 5mm cord for running lines and haul lines;
- 2m of 1″ tubular nylon webbing for brake line;
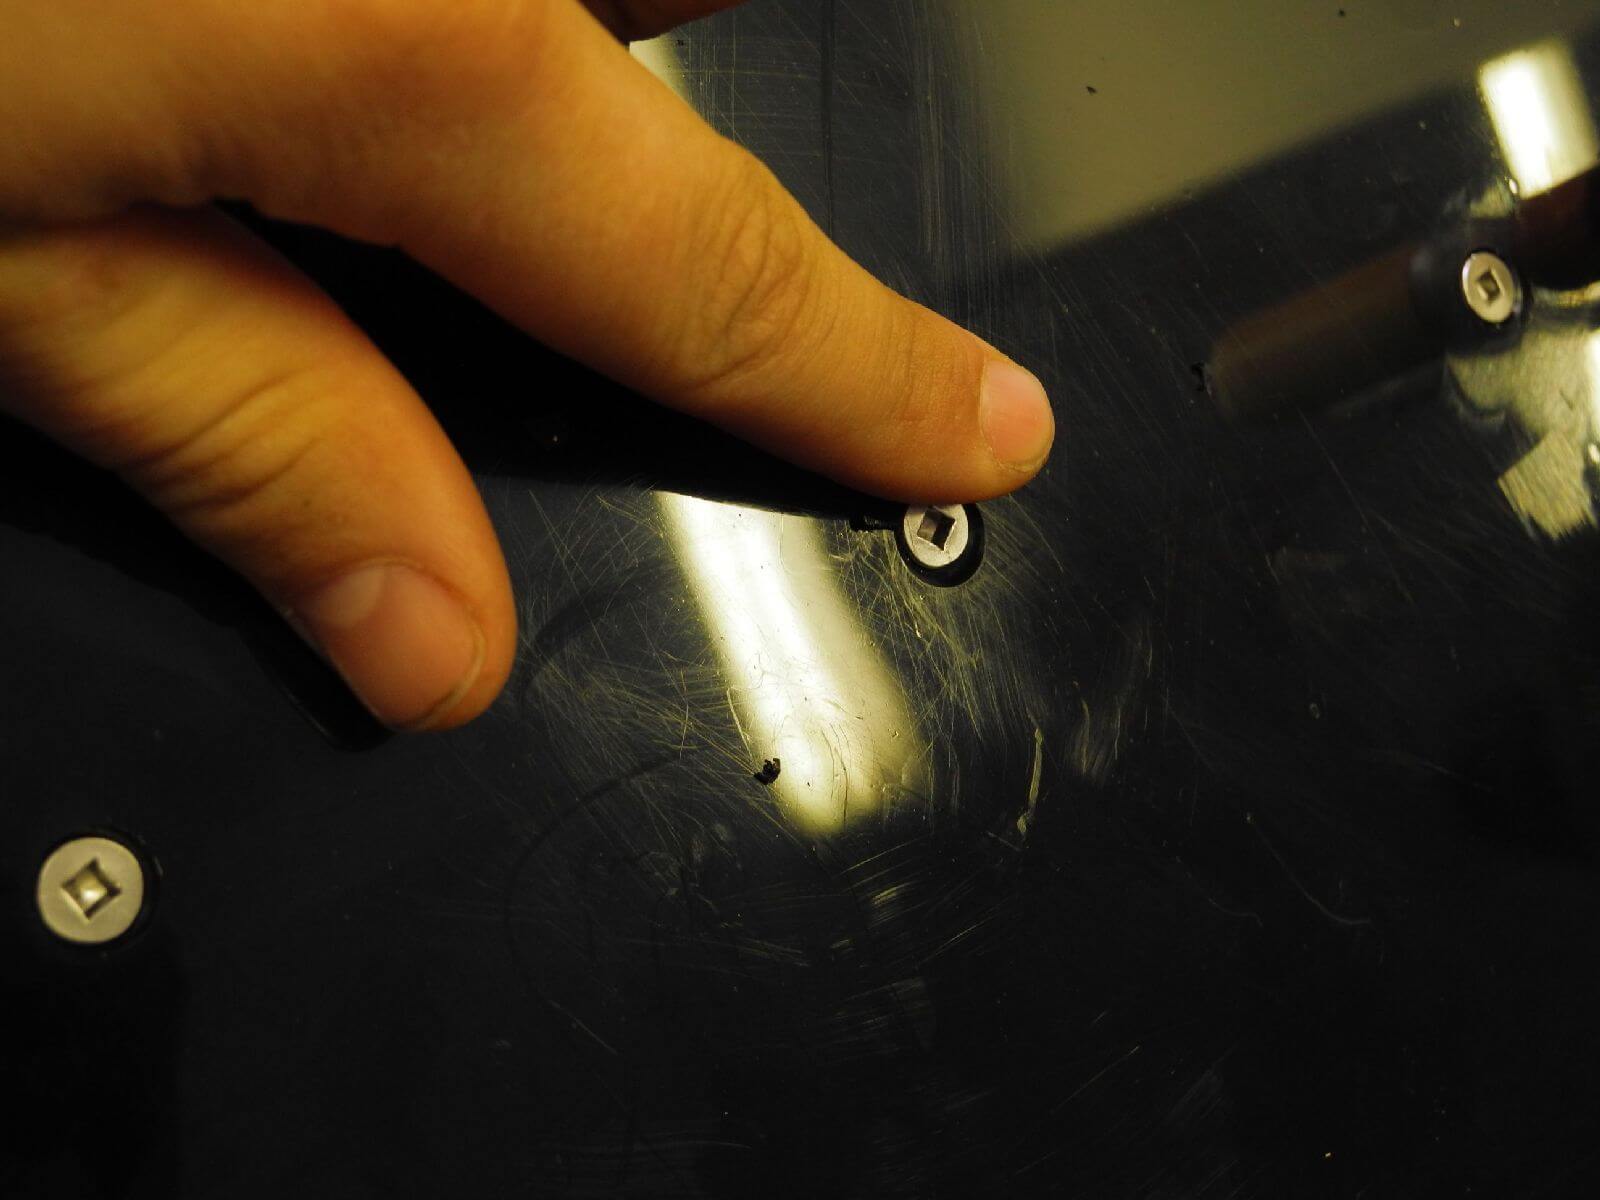
- 16 – 22 #8 x 3/4″ flat-head stainless screws;
- 10 – 14 #8 stainless bolts and t-nuts;
- 5 #8 x 3/4″ pan-head stainless screws;
- Complete lash system:
- 4 – 8m of 3mm cord for prussiks on lash rings;
- 9 – 15 brass lash rings;
- 1 or 2 polyester straps;
- 1 or 2 stainless steel buckles, sewn to polyester loops;
- LotNs custom leather tump.
You supply:
- Linseed oil, spar varnish or another finish of your choice;
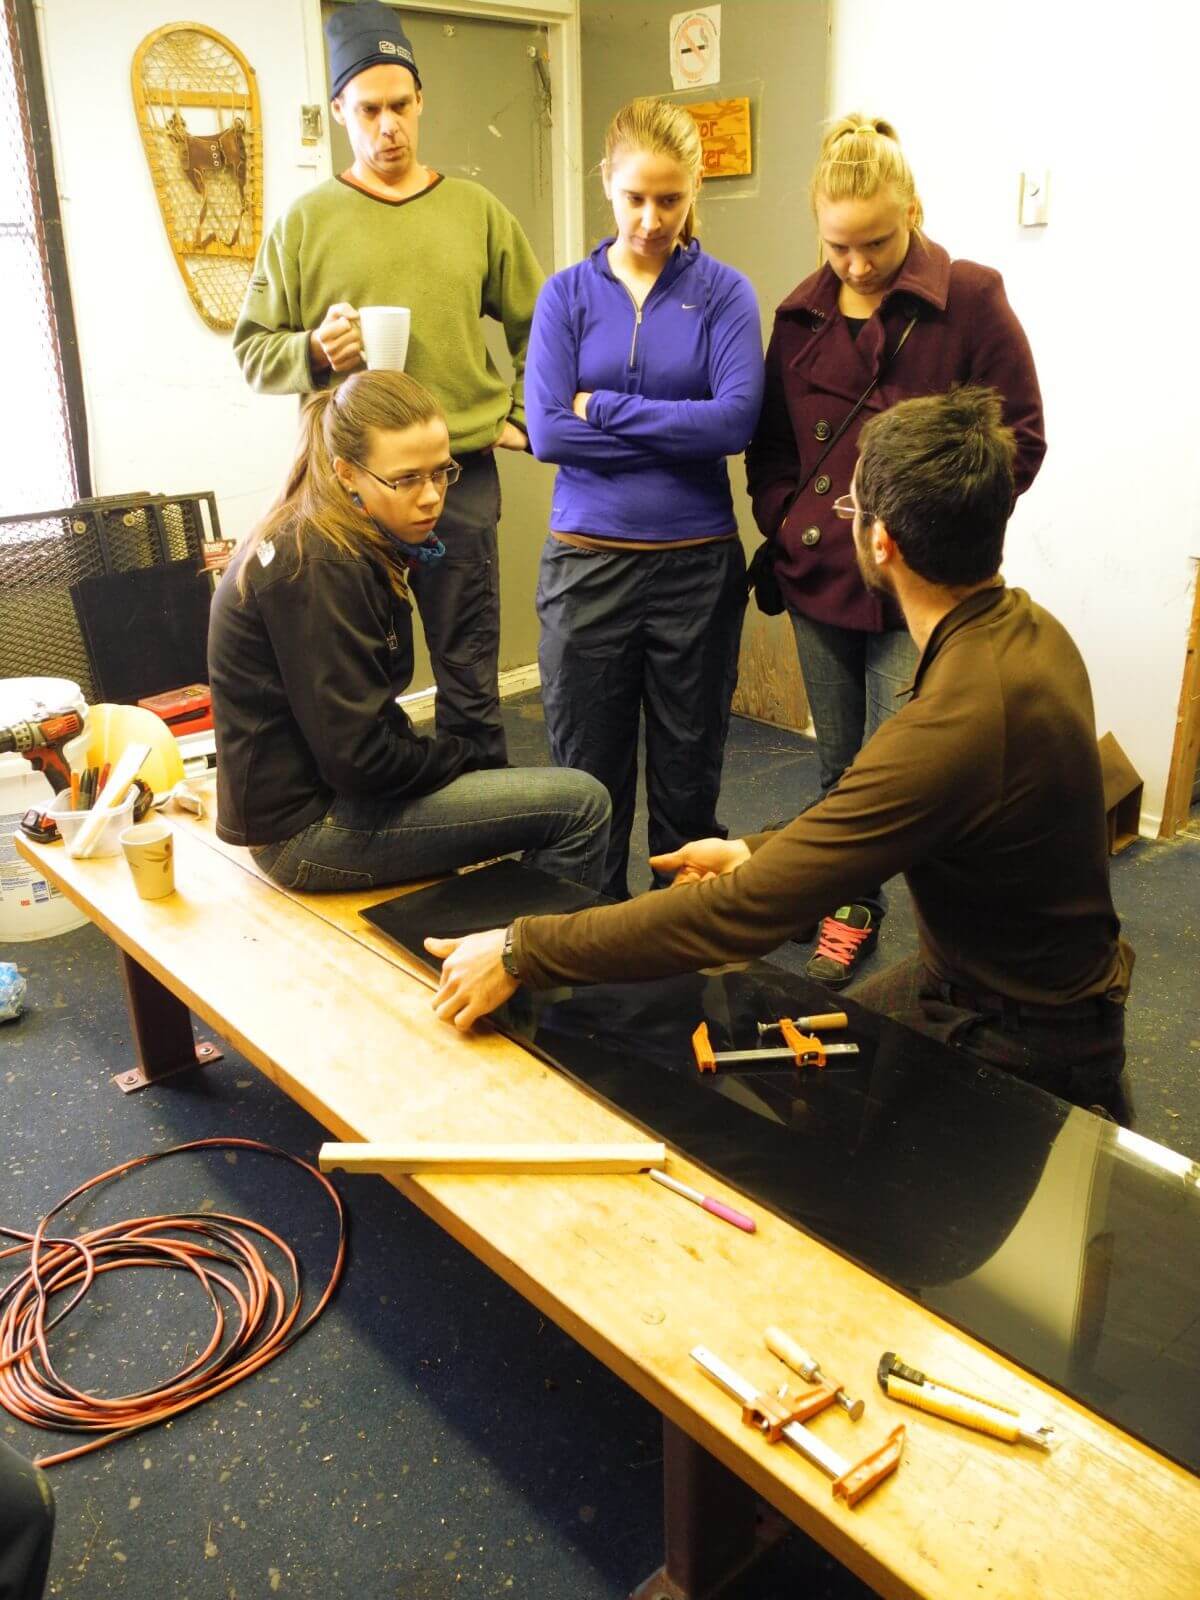
- Drill with standard bits, Robertson drive bit and countersink bit;
- Clamps;
- Straightedge, measuring tape, marker, etc
- Heat gun or hair dryer
Please check out “Toboggan Selection Guide” for more info and video comparisons of the two plastics, and our “Toboggan Outfitting Guide” for more info about tanks, top bags and stove bags.





Slobodan –
hello…respect,,,can you tell me what is the thickness of the polyethylene board 0.8mm 1 cm ,,,
Conor M. –
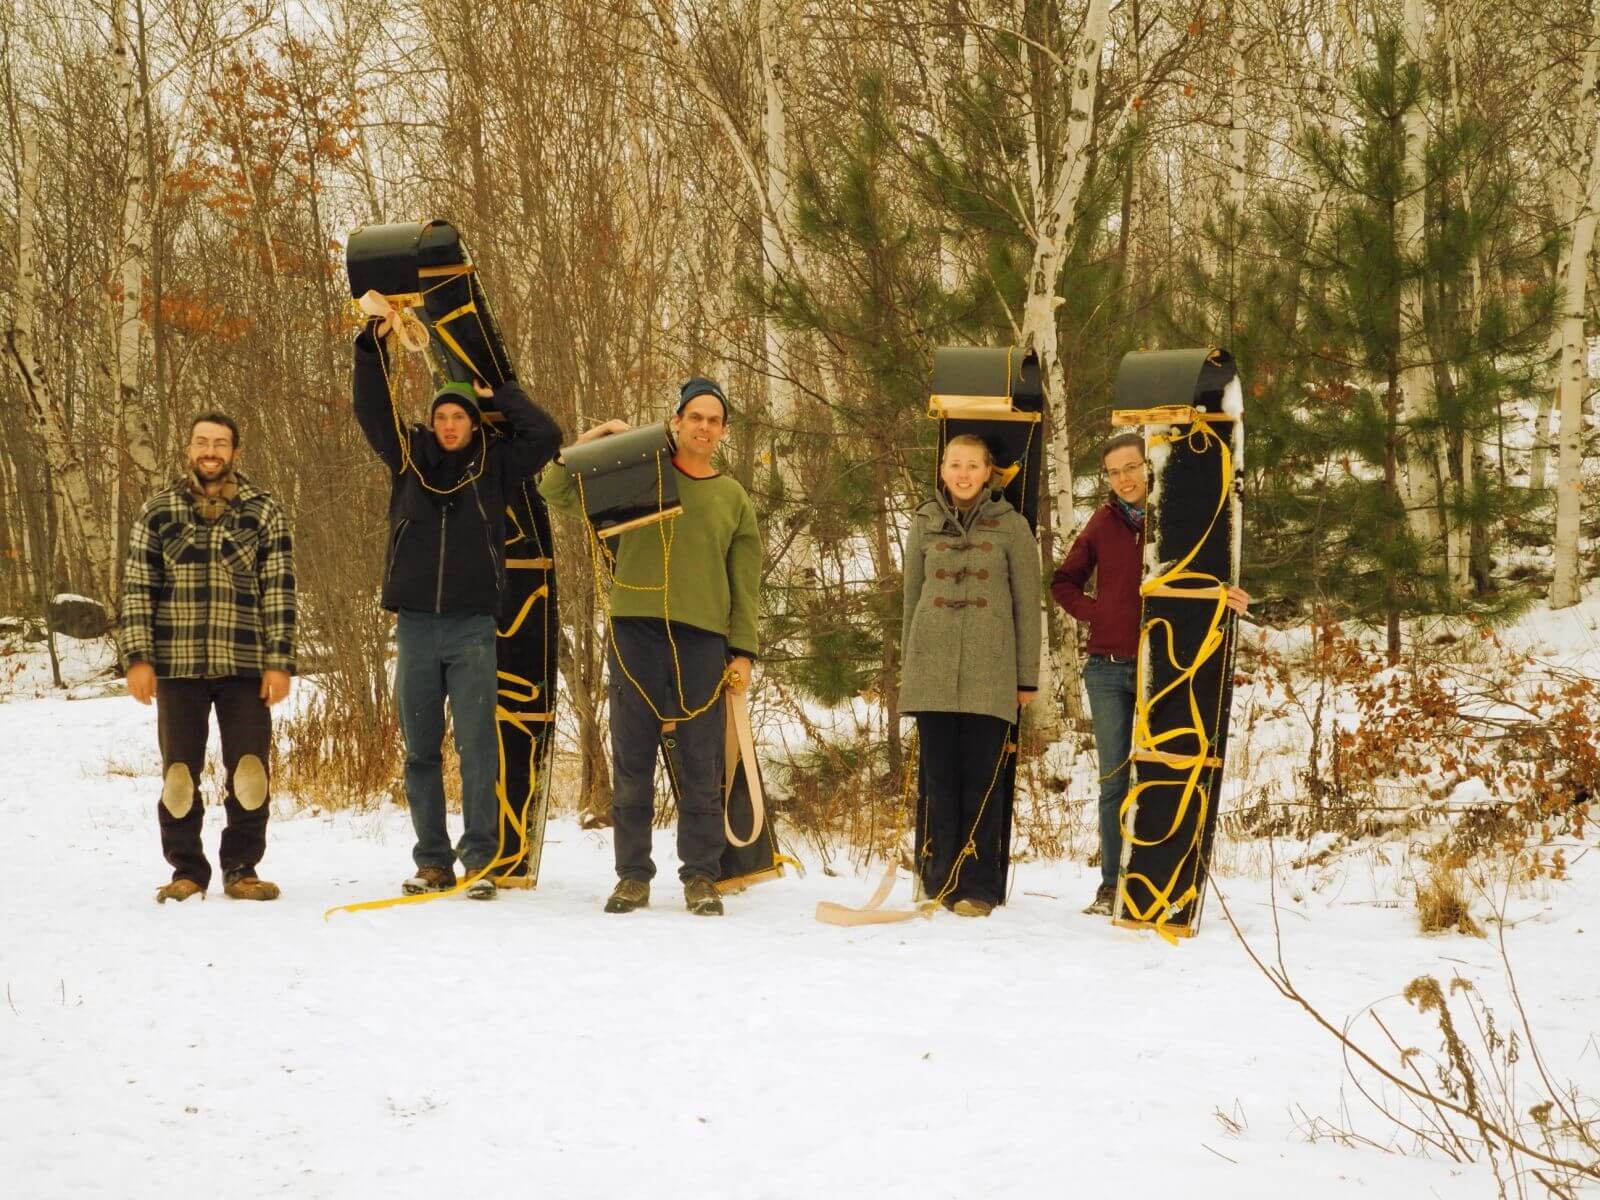
I finished the toboggan last night. It took a little over 2 hours, plus time to oil the crossbars. Your instructions make it easy.
Only thing I might add is that the 1/2″ countersink seemed a bit big (except for seating the rivet). I used one of those dreaded 2 ‘n 1 drill and countersink bits–must’ve been a #8.